
Process Guides
Drywall Installation in Chester County, PA: What to Expect From Quote to Finish
Quick answer
Drywall installation in Chester County, PA typically runs from an inspection of the framing, through hanging and fastening the sheets, to taping, multiple coats of joint compound, sanding, and a chosen finish level. New construction and open additions usually move faster than occupied remodels. Humidity and temperature affect how long each coat needs to dry, which is why a realistic schedule allows for that time rather than rushing it.
If you're planning a room addition, a basement buildout, or a remodel that opens up a wall, drywall installation in Chester County, PA is one of the last structural steps before a space starts to look finished. It is also where a lot of the final quality gets decided. The framing has to be checked, the sheets have to be hung and fastened correctly, and the seams need enough coats of compound to disappear under paint. Skipping steps here shows up later as visible seams, nail pops, or a surface that won't take texture evenly.
This guide walks through what actually happens during drywall installation, what changes the timeline, and the questions worth asking before work starts.
Drywall Installation in Chester County, PA: Where It Fits in a Larger Project
Drywall is usually one of the last rough-construction steps and one of the first finish steps. By the time it starts, framing, insulation, rough electrical, and rough plumbing should already be inspected and approved. Installing drywall before that work is signed off can mean cutting it back open later, which costs more time than waiting.
For a room addition, this is typically a clean, open installation with full access to the framing. For a basement, moisture control matters first; see our basement finishing guide for how that gets addressed before drywall goes up. For an occupied remodel, protecting floors and furniture and controlling dust become part of the job alongside the actual hanging and finishing.
If the project is a repair to existing walls rather than new installation, the approach is different. Our drywall repair vs. replacement guide covers how to tell which situation you're in.
What Should Happen Before a Single Sheet Goes Up
A few checks before hanging drywall save rework later:
- Framing is straight, properly spaced, and free of protruding fasteners or debris.
- Insulation, where required, is installed and inspected.
- Rough electrical and plumbing are complete, inspected, and any penetrations through top plates or framing are sealed as required.
- Moisture sources, especially in a basement or over an exterior wall, are addressed rather than covered up.
- Board thickness and type (standard, moisture-resistant, or fire-rated) match the room's use and any applicable code requirement.
A commercial space or a fire-rated wall assembly has its own layering and fastening requirements; our commercial drywall overview covers that in more detail. For a residential room, the main variables are board type, thickness, and how the room will be used.
Hanging and Fastening the Sheets
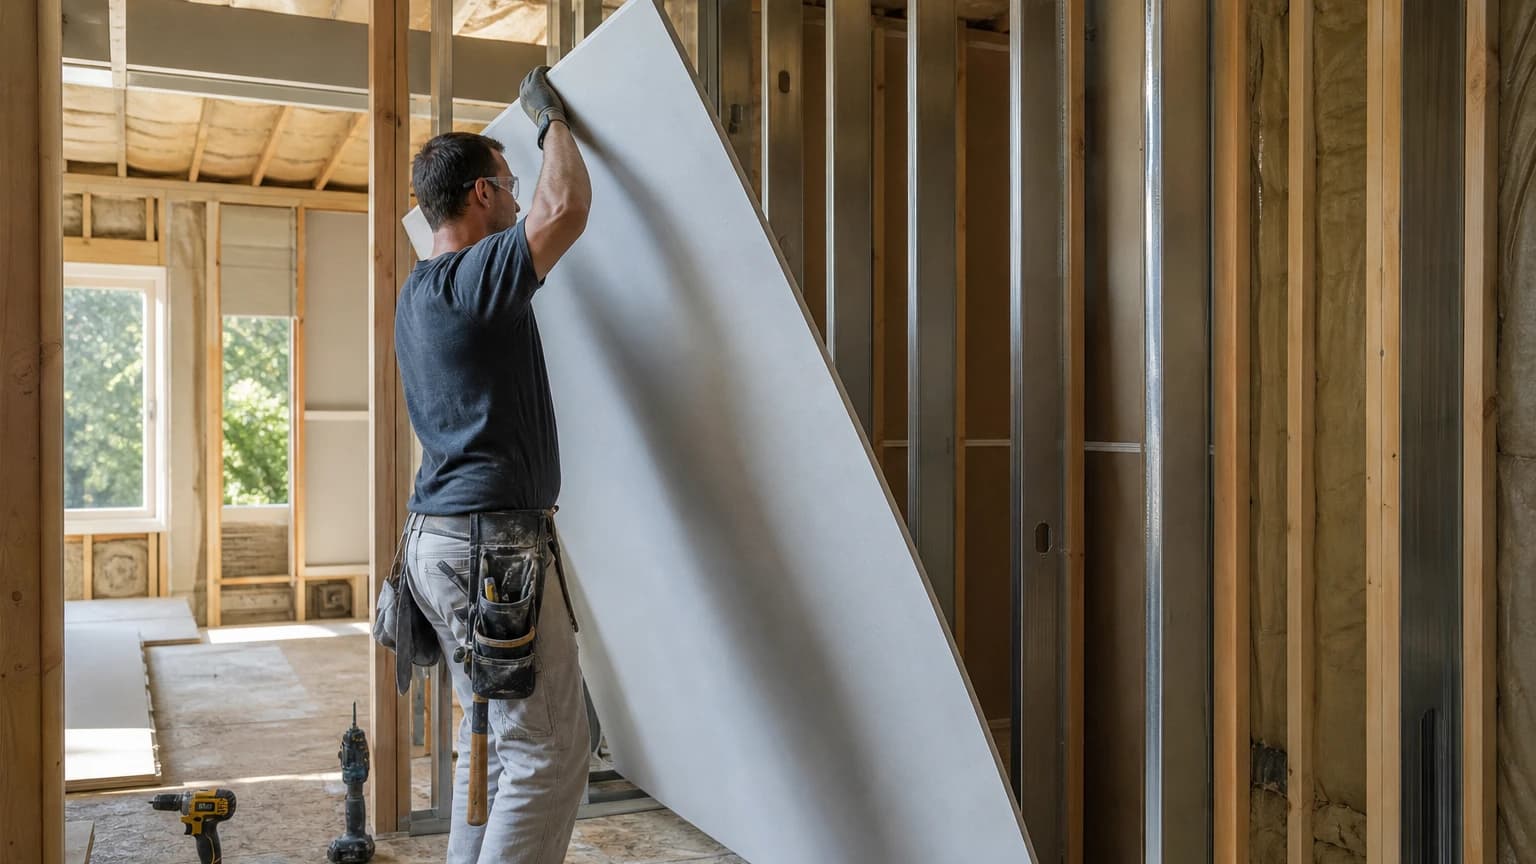
Sheets are measured, cut, and fastened to studs or ceiling joists with drywall screws (or, less often today, nails) set at consistent intervals. Fasteners are driven just below the paper surface without tearing it, since a torn fastener hole holds compound poorly and can telegraph through paint later. Seams are staggered where possible so long joints don't line up end to end, which helps the wall resist cracking at the seams over time.
Corners, around windows and doors, and ceiling-to-wall transitions take more time than flat field areas. These spots are also where a rushed installation tends to show problems first, since they involve more cuts and more places for a sheet edge to be unsupported.
Taping, Coats, and Choosing a Finish Level
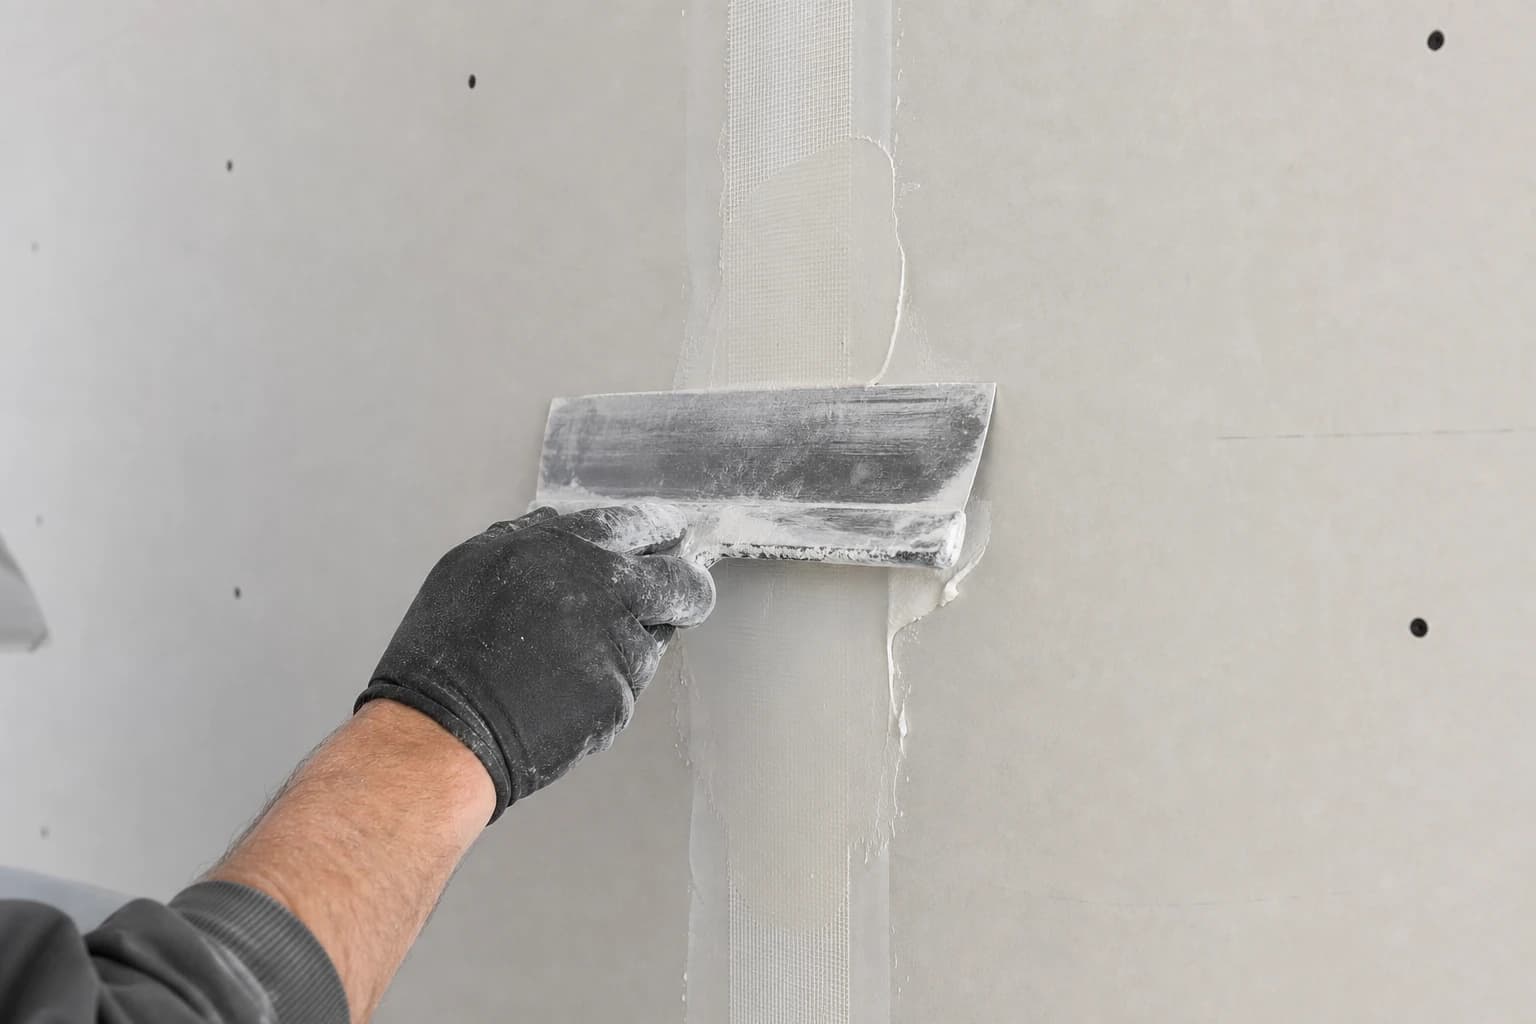
Once sheets are up, seams get joint tape embedded in compound, followed by additional coats that widen and feather each seam until it blends into the surrounding surface. Fastener heads get their own thin coats to disappear as well. Between coats, the compound needs time to dry (or cure, for setting-type compounds) before sanding and the next coat.
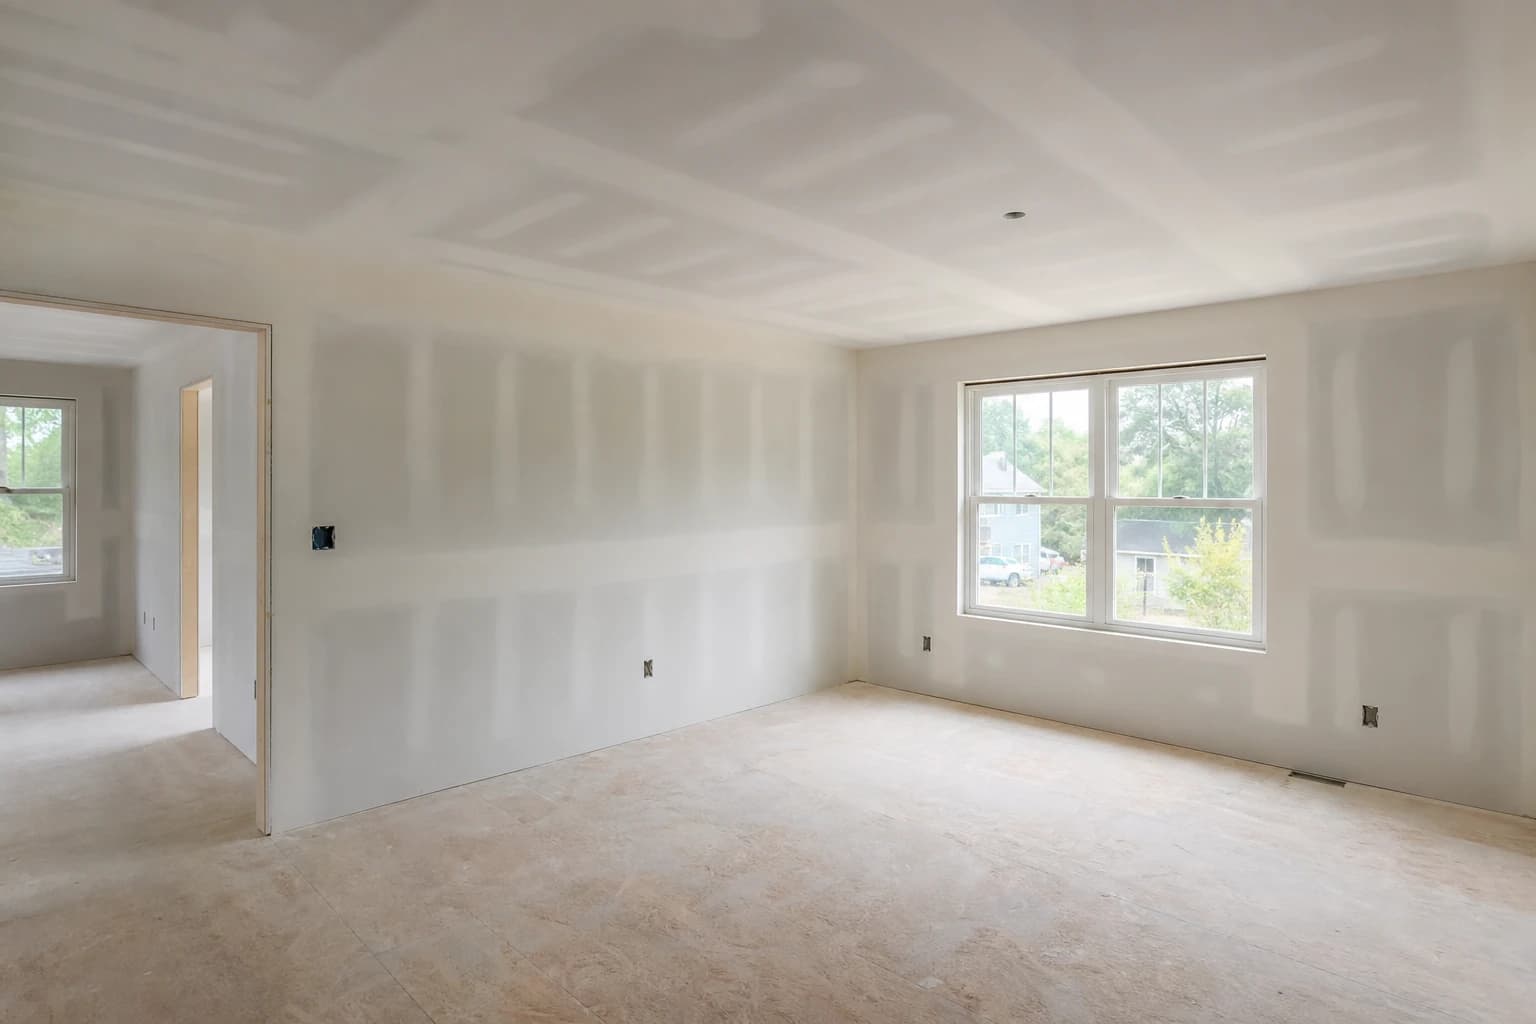
The finish level matters as much as the number of coats. A utility space like a garage or storage room may only need a basic level, while a living room, hallway, or any wall that will carry a smooth paint sheen benefits from a higher finish level with a final skim coat. If the plan includes a textured ceiling or wall, our texture matching guide explains how that final step is applied once the base finish is ready.
A ceiling that will later show water stains or cracking from a roof or plumbing issue is a different problem than a fresh installation; our ceiling repair guide covers that side of things if you're dealing with an existing ceiling rather than a new one.
What Actually Changes the Timeline
Three things affect how long a drywall installation takes more than almost anything else: room size and complexity, the chosen finish level, and drying time between coats. A simple, open addition with a basic finish moves faster than an occupied home with multiple rooms, high ceilings, and a smooth, paint-ready finish throughout.
Humidity and temperature also play a real role in Chester County. Compound dries more slowly in humid summer stretches and in an unheated space during winter, and rushing a coat before it's ready usually shows up later as cracking or shrinkage at the seams. A realistic schedule builds in that drying time rather than treating it as a delay.
Questions Worth Asking Before Work Starts
- What board type and thickness are planned for each room, and why?
- What finish level will each wall and ceiling get, and does that match how the room will be used?
- How will dust and debris be contained if the home is occupied during the work?
- Has the framing, insulation, and any rough electrical or plumbing already been inspected?
- What is the realistic schedule once drying time between coats is factored in?
A written estimate that answers these questions up front makes it easier to compare options and set expectations before the first sheet goes up.
Frequently asked questions
- How long does drywall installation take for a typical room addition?
- It depends on the room's size, the finish level chosen, and drying time between coats, so there is no single number that fits every project. An open addition with straightforward access generally moves faster than an occupied remodel with more rooms and higher finish requirements.
- What is the difference between drywall finish levels?
- Finish levels describe how many coats of compound and how much sanding a wall gets, ranging from a basic level suited to utility spaces up to a smooth, skim-coated surface for areas with critical lighting or a glossy paint sheen. The right level depends on how the room will be used and lit.
- Does drywall installation need to wait for inspections?
- Yes, in most cases. Framing, insulation, and any rough electrical or plumbing work typically need to be inspected and approved before drywall closes up the wall, since reopening finished drywall to fix something underneath costs more time than waiting for sign-off first.
- Why does humidity affect a drywall installation schedule in this area?
- Joint compound dries more slowly in humid conditions and in unheated spaces, which changes how quickly each coat is ready for sanding or the next coat. Building that drying time into the schedule helps avoid cracking or shrinkage that can show up when a coat is rushed.
- Can drywall installation include a textured finish?
- Yes. Texture is typically applied after the base coats and sanding are complete, once the wall or ceiling is flat and ready. The base finish still needs to be done correctly first, since texture will show through an uneven surface underneath it.
Plan Your Drywall Installation With a Clear Estimate
If you're framing out an addition, finishing a basement, or opening up a wall for a remodel, Main Line Drywall can walk the space and lay out what the installation and finish level will actually involve. Request a free written estimate for your project, or call (484) 202-0548 to talk through the scope first.