
Repair Guides
Ceiling Repair in Chester County, PA: What That Water Stain Is Really Telling You
Quick answer
A ceiling water stain that's dry, no longer growing, and sitting over solid drywall usually only needs a stain-blocking primer, a texture-matched patch, and paint. A stain that's soft, sagging, actively growing, or paired with a musty smell means the leak is still active — find and fix the water source first, then repair the ceiling material itself before painting over it.
If you've spotted a brown or yellow ring spreading across your ceiling, you're probably trying to figure out whether this calls for a can of paint or a real ceiling repair in Chester County, PA. The honest answer depends on two things: whether the leak that caused it is still active, and how much water the drywall or plaster underneath has actually absorbed. A dry, stable stain sitting over solid material is often a quick fix. A soft, spreading, or sagging stain means water is still moving through the ceiling, and the repair has to start above it, not on it. This guide walks through how to tell the difference, what a proper repair involves, and a few things worth checking in older Main Line homes before any work begins.
What a Ceiling Water Stain Is Actually Telling You
A stain doesn't tell you where the water started — only that water reached that spot on the ceiling at some point. In Chester County and Main Line homes, the usual sources are a roof leak, a plumbing line or fixture leaking in a room above, condensation from an uninsulated or leaking HVAC duct running through the attic, and a bathroom exhaust fan that vents into the attic instead of outside through the roof or wall.
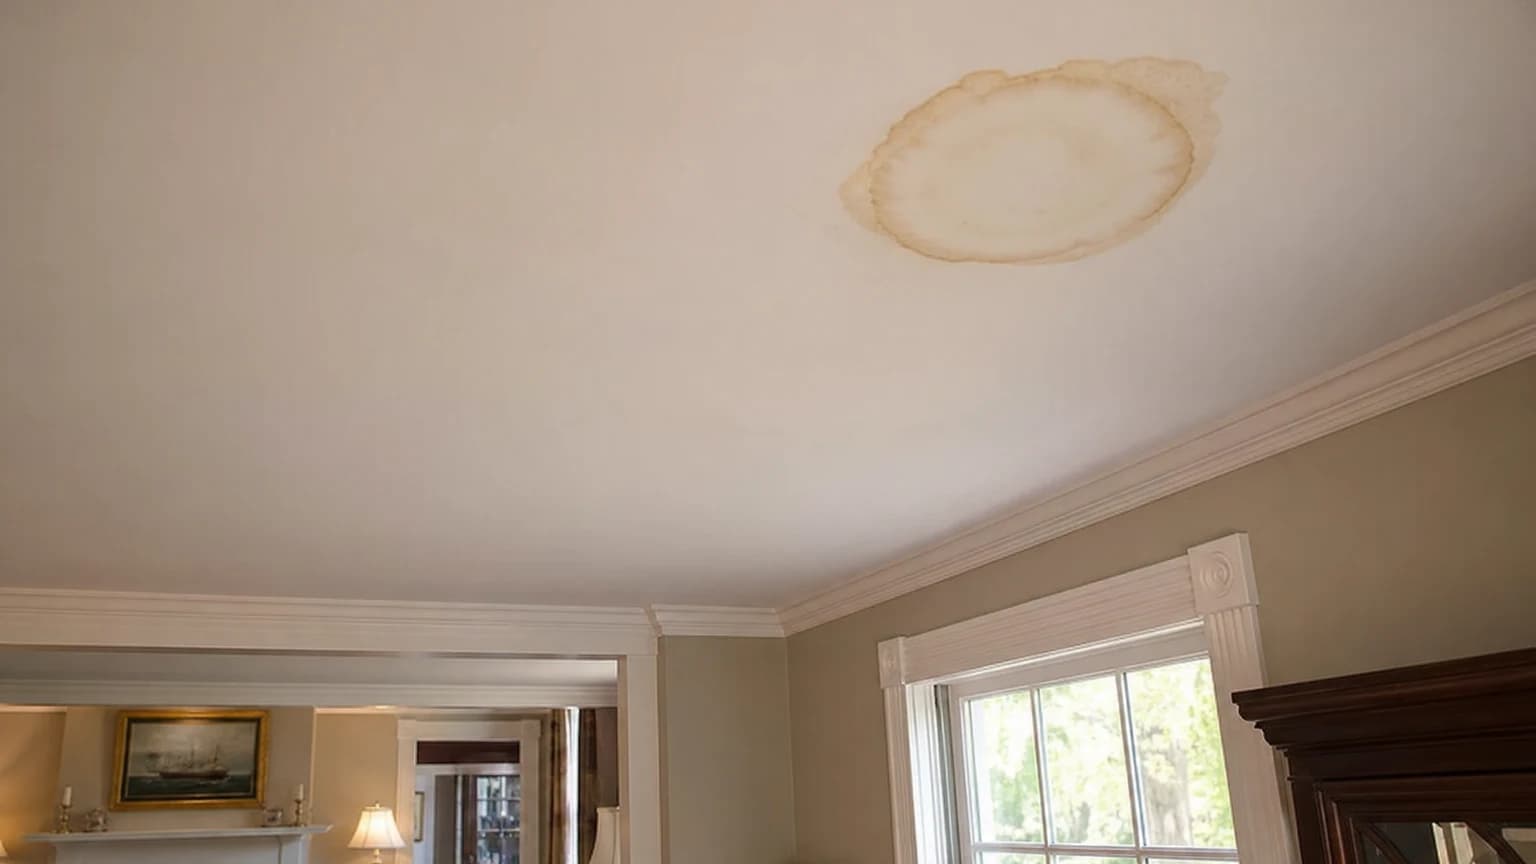
- A ring-shaped stain with a darker outer edge usually means water evaporated in place, leaving dissolved minerals and tannins behind — common after a slow, intermittent leak.
- A stain that's stayed the same size since it first appeared often points to a leak that's already been fixed, even if no one remembers fixing it, or a one-time event like an overflowed tub.
- A stain that darkens or grows after every rain is a strong sign the source is still active.
- A stain paired with a musty smell, even a faint one, usually means moisture is still present somewhere in the assembly, not just a dried mark.
None of this tells you the exact cause on its own, which is why the next step — checking whether the leak is still active — matters more than the size or color of the stain itself.
Is the Leak Still Active? How to Check Before You Patch
Painting over a stain before confirming the leak has stopped is one of the most common reasons a ceiling repair fails within a season. A few simple checks before you patch anything:
- Press gently on the stained area with a gloved hand. Firm and dry is a good sign; soft, spongy, or bulging means the drywall or plaster has absorbed water and lost strength.
- Trace the current edge of the stain with a pencil and note the date. Check back after the next rain — if the mark hasn't moved, the source is likely resolved.
- If the attic or the room above is accessible, look there during or right after a rain event for damp insulation, wet framing, or active dripping.
- Check for a pattern tied to specific conditions — a stain that only appears after heavy rain points to roofing; one that shows up regardless of weather is more likely a plumbing or condensation source.
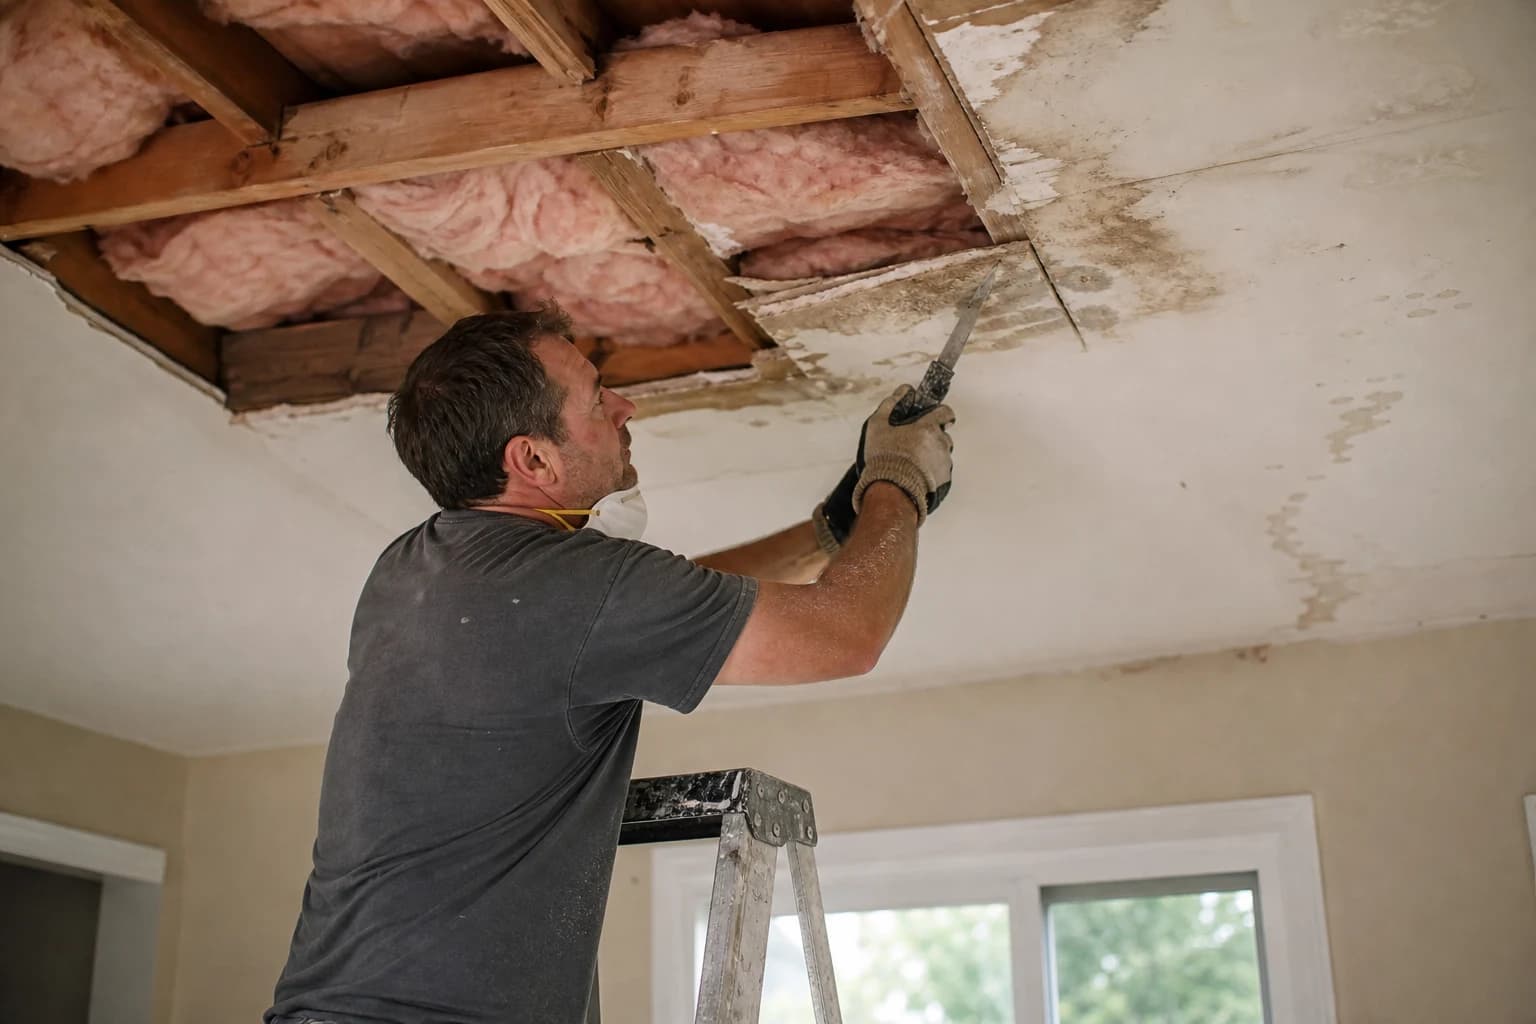
If any of these checks come back damp, soft, or still growing, the water source needs to be found and fixed first — a roofer, plumber, or HVAC technician depending on the likely cause. Patching drywall over an active leak just hides the problem until the stain reappears, usually larger.
Ceiling Repair in Chester County, PA: What the Process Looks Like
Once the leak is confirmed fixed and the ceiling material has had time to dry fully, the repair itself follows a fairly standard sequence:
- Cut out any soft, stained, or sagging drywall back to a solid, dry edge, ideally centered over the ceiling joists so the new piece has something to screw into.
- Check and replace any wet insulation above the repair area, since damp insulation stays a mold risk even after the ceiling itself is patched.
- Fit and screw in a new piece of drywall sized to the opening, then tape and coat the seams in two or three thin coats, feathering each one wider than the last.
- Sand smooth once dry, then match the surrounding ceiling texture — orange peel, knockdown, or popcorn — so the patch blends in rather than reading as an obvious repair.
- Prime the repaired area, and the old stain boundary if it's still faintly visible, with a stain-blocking primer. Standard latex primer often lets old water stains bleed back through; a shellac- or oil-based stain-blocking primer seals them so they don't reappear under fresh paint.
- Paint the full ceiling panel rather than just the patch, since a spot-painted section can show a slight sheen difference even when the color matches exactly.
Ceiling work is a distinct process from wall repair — gravity makes taping and texture-matching overhead more demanding, and a mismatched texture patch is far more noticeable on a ceiling than on a wall where the eye isn't looking straight up at it.
Older Homes: Popcorn Texture and Plaster Ceilings Need an Extra Step
Homes around Wayne, Malvern, and older sections of the Main Line more often have popcorn or acoustic-textured ceilings, or plaster over wood lath instead of drywall. Both need an extra step before repair.
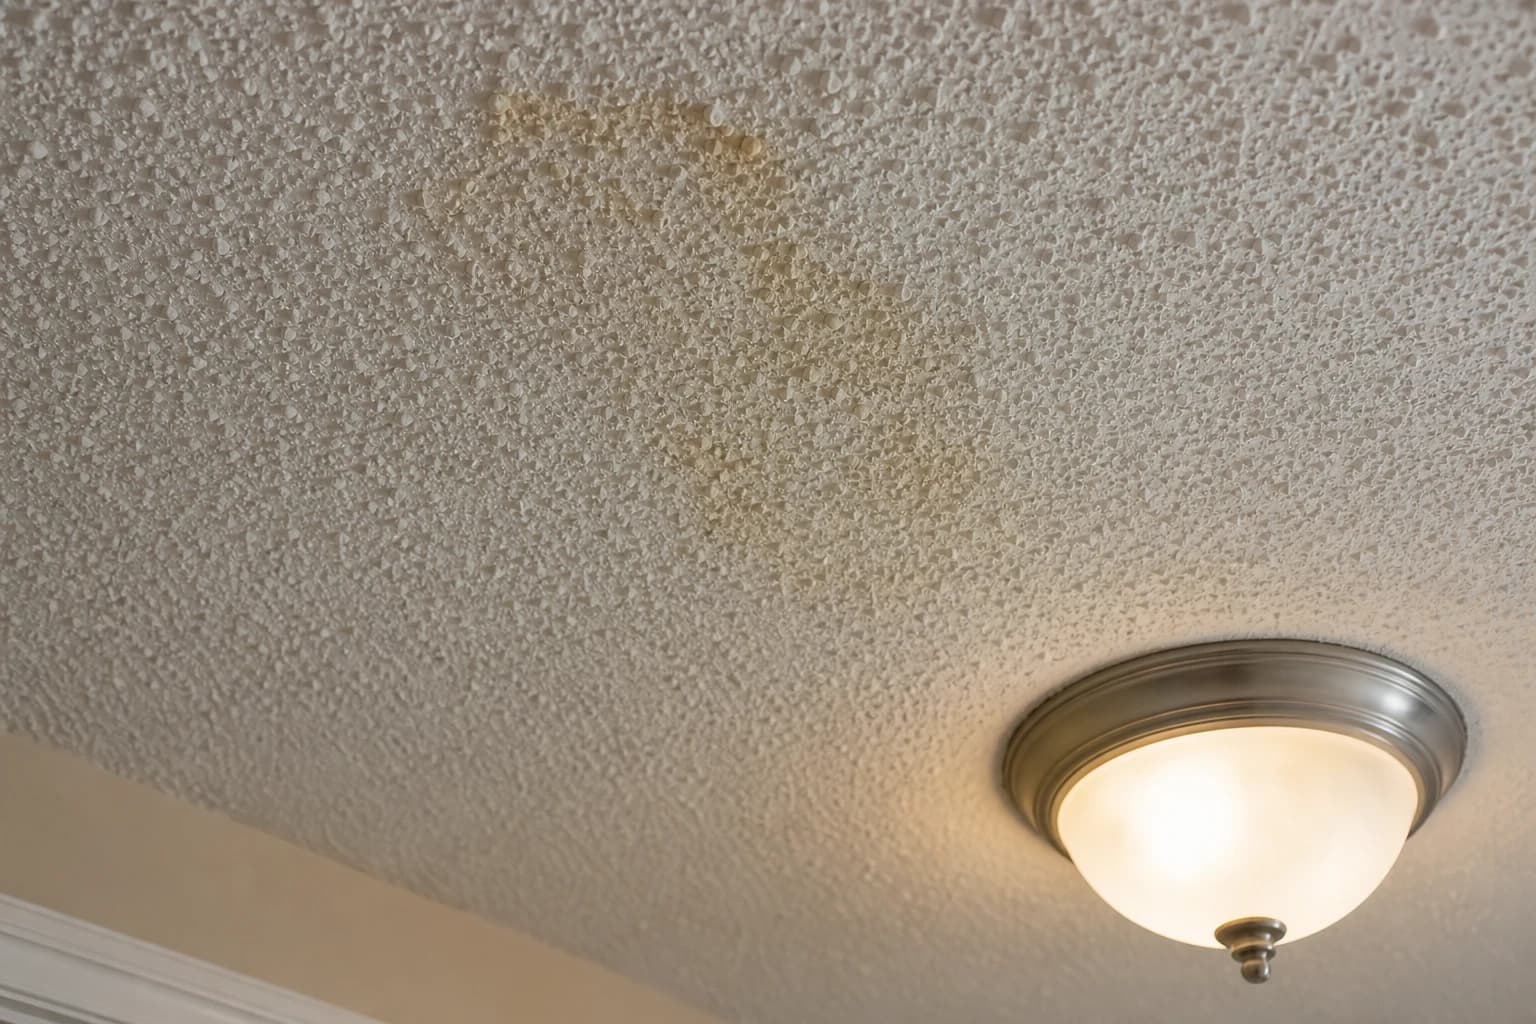
The EPA advises treating any popcorn or spray-applied acoustic ceiling texture installed before the 1980s as a potential asbestos risk until it's tested by a certified professional. Spray-on products containing asbestos weren't formally banned until 1978, and existing stock continued to be used for some time after that. If your home has an untested popcorn ceiling and was built before the 1980s, get it tested before any cutting, scraping, or sanding — including a repair that would disturb the texture. This applies to popcorn ceilings specifically; it isn't a concern for standard smooth or orange-peel drywall texture.
Plaster ceilings bring a different consideration. Plaster is harder and more brittle than drywall, and water damage often causes it to separate from the wood lath behind it rather than simply staining. A section that sags or feels loose when pressed may need to be secured or removed rather than patched in place, and matching decades-old plaster texture takes a different approach than matching drywall texture. If your home has original plaster, a plaster-specific repair usually holds up better long-term than a drywall patch dropped into an old lath ceiling.
Newer construction — including many townhomes and condos around King of Prussia — is almost always standard drywall with no asbestos concern, but shared-wall and shared-ceiling assemblies mean a leak from an upstairs unit can show up on your ceiling faster and with less warning than in a detached home.
When a Stain Means More: Sagging or Bulging Drywall
A flat, dry stain is a cosmetic issue. A ceiling that sags, bulges, or feels soft when pressed is a different situation — the drywall's paper facing and gypsum core have absorbed enough water to lose structural strength, and a saturated section can eventually let go under its own weight.
If you notice a bulging or sagging section, avoid standing directly underneath it and keep the area clear until it's been looked at. If water is still actively coming through, a bucket underneath is a reasonable short-term measure, but the priority is getting the ceiling inspected and the water source addressed quickly rather than waiting to see if it dries on its own.
What Affects the Cost of Ceiling Repair
The cost of a ceiling repair depends mostly on how much material needs to be replaced and how the space is built, not just the size of the visible stain. A small, dry, stable stain over sound drywall might only need priming and paint. A soft or sagging section requires cutting out drywall, checking insulation, and rebuilding the patch before texture and paint. Vaulted ceilings, popcorn texture requiring asbestos testing first, and plaster ceilings in older homes all add time and complexity compared to a flat, smooth drywall ceiling in a standard room. A written estimate after an in-person look is the only reliable way to know which category a given repair falls into.
DIY Touch-Up vs. When to Call a Professional
A small, dry, stable stain over sound drywall is a reasonable weekend project for a homeowner comfortable with a stain-blocking primer and a paint roller. Consider bringing in a professional when:
- The ceiling feels soft, spongy, or bulges when pressed.
- The stain has grown, darkened, or reappeared after a previous paint job.
- The ceiling has a popcorn or acoustic texture and the home was built before the 1980s — get it tested for asbestos before any cutting or scraping.
- The ceiling is plaster, vaulted, or otherwise hard to reach safely.
- You want the surrounding texture matched so the patch doesn't stand out under angled light.
If you're not sure which category your ceiling falls into, Main Line Drywall offers free written estimates for both quick patch jobs and full ceiling repairs across Chester County and the Main Line. You can also call to talk through what you're seeing at (484) 202-0548.
Frequently asked questions
- Do I need to test for asbestos before repairing my ceiling?
- Only if your home has a popcorn or spray-applied acoustic ceiling texture and was built before the 1980s. The EPA advises treating those ceilings as a potential asbestos risk until a certified professional tests them, especially before any cutting, scraping, or sanding. Standard smooth or orange-peel drywall texture isn't a concern.
- Can I just paint over a water stain instead of repairing it?
- Only if the leak is confirmed stopped and the material underneath is dry and structurally sound. Even then, standard latex paint often lets old stains bleed back through — a shellac- or oil-based stain-blocking primer is needed first. Painting over an active leak just hides the problem temporarily.
- How do I know if the leak causing my ceiling stain has actually stopped?
- Trace the current edge of the stain with a pencil and note the date, then check it again after the next rain. If the mark hasn't grown and the area still presses firm and dry, the source is likely resolved. If it's grown or feels soft, the leak is probably still active.
- Is a sagging or bulging ceiling an emergency?
- It's not something to ignore. A sagging section means the drywall has absorbed enough water to lose structural strength, and a saturated area can eventually give way. Avoid standing directly underneath it and get it inspected promptly rather than waiting to see if it dries on its own.
- Does ceiling repair need to match the existing texture?
- For most homes, yes. A smooth patch on a textured ceiling — or an unmatched popcorn, orange peel, or knockdown pattern — is usually more noticeable on a ceiling than on a wall, since angled light makes texture differences stand out overhead.
Get a Clear Read on Your Ceiling Before You Patch It
Most ceiling stains in Chester County and the Main Line turn out to be manageable once the water source is confirmed and addressed. If you're not sure whether yours needs a simple touch-up or a full repair, Main Line Drywall offers free written estimates and can walk the space with you before any work is scheduled.